How to Wear Traditional Japanese Clothing
Introduction
Japanese kimonos are Japan's most stunning and distinctive traditional clothing; almost everyone is familiar with them. You might be surprised to learn that "kimono," which translates to "thing that is worn," comprises a wide range of styles and can be worn in Japan for various events. Kimonos are ingrained in Japanese culture even today, ranging from inexpensive, high-quality furisode worn for formal events to comfortable, informal yukata worn at summer festivals.
Even though most Japanese people now dress in Western fashion, the traditional Kimono is still worn on special occasions like weddings, government events, and graduations. Kimonos are worn according to particular standards, which take much work and learning to master. By the way, the Japanese designate the art of donning a kimono called kitsuke. Given that kitsuke is a highly codified art, choosing a kimono and its accouterments should not be taken lightly. Women, for instance, should select their Kimono based on the event, age, and marital status. Instead, we'll focus on the five fundamental guidelines to adhere to if you want to wear a kimono and the kind you should pick.
What Do You Need to Wear a Kimono?
Women's kimonos require several clothing items and accessories, some required and others optional. To wear a kimono properly, experts advise the following accessories, working outward from the layer of undergarments.
1. Hadajuban and Susoyoke
These are put on top of your everyday underwear. This is useful if your kimono or sports bra flattens your figure rather than elongates it. These are the first outfits explicitly designed for kimonos. Although some ladies prefer a pair of long johns, which can make kimonos more comfortable, especially in warm weather, the susoyoke is similar to a slip. The hadajuban resembles a delicate camisole.
2. Nagajuban
The sleeves and hem of the nagajuban, a delicate silk robe that is somewhat shorter than the Kimono, cannot be seen. A small portion of the nagajuban's collar is visible beneath the Kimono. If you want a different pattern or color, you may even sew your collars, which can be any 90 cm by 15 cm textile strip. It would help if you also got an erishin, a piece of plastic that slides under the collar to keep it looking nice, along with the nagajuban.
3. Koshi-himo
Koshi-himo, or thin cotton sashes, fasten the Kimono and nagajuban. These are easy and cheap, but you'll need at least two or three. To hold the kimono collar in place, a more specialized korin belt can be utilized in place of a third koshi-himo.
4. Date-jime
Before putting on the obi, the date-jime, a broad sash, attaches the Kimono to the body and fastens the nagajuban. It aids in defining the cylinder-like body form necessary for wearing kimonos. You will require two of them, one for the Kimono and one for the nagajuban.
5. Obi
The larger outer sash or belt tied around the Kimono is called the obi. It is the main jewelry worn with the Kimono and is available in many designs and compositions. More sophisticated versions like Maru obi and Fukuro obi frequently have extensive embroidery and metallic threads. Nagoya obi is an obi of convenience that has one end that is only partially sewn together to facilitate tying. Hanhaba obi are half-width obi typically used with yukata or informal kimonos and don't require any further embellishments. Here is a quick guide to tie the Obi:
- Measure the length of the obi starting from one end by measuring the distance from your shoulder to your hand to determine the length. With the pattern you use facing down, drape the length you measured over your right shoulder. Some would also fold this length in half horizontally at this point, with the primary pattern showing on the exterior.
- Turn clockwise for one complete rotation and wrap the obi around yourself once. Tighten the obi around you by adjusting it until it is snug. Then, turn the obi around completely one more. Make a crossover tie like you would knot your shoelaces while holding both sides of the obi's slack fabric, ensuring the short end draped over your shoulder comes out the top of the tie. You can drape it over your shoulder until you're ready to use it later.
- Measure off 15 to 20 cm of width from the tied end of the remaining obi while holding the long end, then fold the obi back toward the tie. The obi's remaining length will be utilized to make a bow. The obi's end should be on the inside of the circle you form to make the bow out of the remaining length. After making any required adjustments, you should be able to fit your torso inside the flattened circle of obi. It should be possible to double back on itself 2.5–3 times with the extra length you have.
- Pinch one to three folds toward the middle of the cloth circle while holding it. Your ability to fold your obi depends on the obi's stiffness and thickness. With one hand, secure the folds. If the short end of the obi still needed to be folded in half horizontally, do that now. Then, use it to wrap around the folds you made, holding them in place and forming the bow shape. You should wrap the obi around twice if the short end is too long. Any extra length should be carefully tucked into the portion of the obi that is around your waist.
- The obi should be fastened around your waist with the bow positioned at its top. Turn the bow to face up, as if it were on top of a present, rather than outward. The "wings" of the bow can be adjusted to give it a pleasing shape. It's finally time to put the bow where it belongs: on your back. Gently twist the entire construction clockwise until the bow is in the middle of your back by holding the obi where the bow is "attached" and placing the other hand on the obi in the middle of your back.
6. Kimono
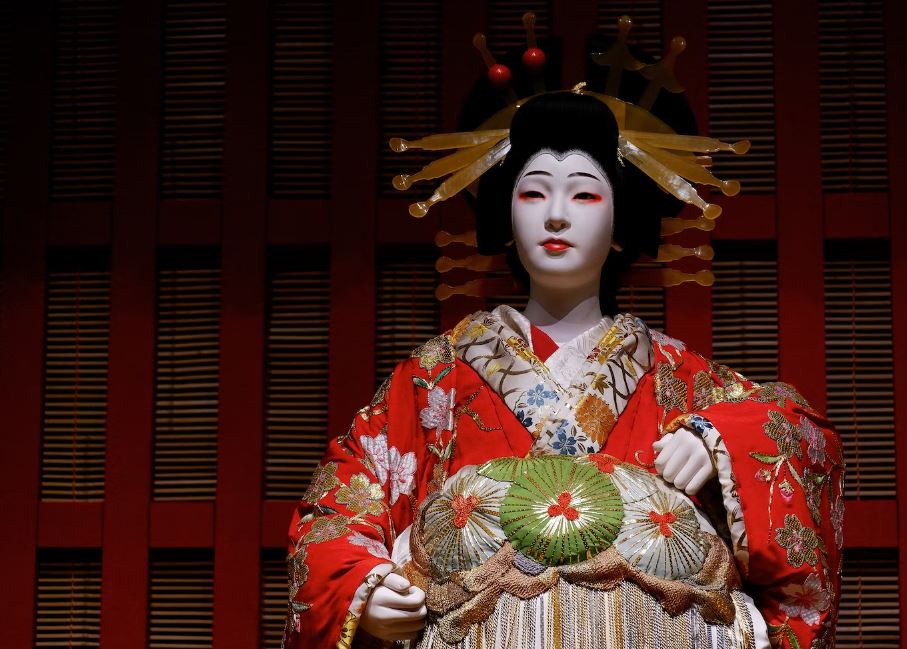
The actual clothing is the Kimono. Silk, linen, cotton, wool, or polyester can be used to make it. There are numerous other kimonos, but the furisode with long sleeves almost reaching the ground is the most recognizable. Unmarried women who wear furisodes are sometimes linked to maiko, or geisha girls, aspiring to be geisha.
7. Tabi
Ankle-high socks with a split toe, known as "tabi," are intended to be worn with traditional Japanese shoes. Although tabi is usually white, you may purchase them in various colors and designs to match your kimono outfit or personal style.
8. Geta and Zori
The traditional Japanese footwear styles zori and geta are also popular today. Zori is flatter, and contemporary designs use synthetic materials that offer countless color and pattern options. Zori are thought to be more formal than geta. Geta are made of wood, and you hear the recognizable "clip-clop" sound as you walk in them. Some have a rectangular shape, while others have a beautifully carved foot silhouette.
How to Wear a Kimono
Depending on the type of Kimono, there are several methods to wear it, particularly for stage performances and wedding occasions. These are some of the fundamental guidelines for wearing an everyday kimono.
1. Put the tabi on.
Even though it's a commonplace first step, putting on tabi socks after donning a kimono can be challenging. It raises the possibility that something will, at the very least, slip out of position while you bend and twist to put your tabi socks on.
2. Put on your customary undergarments.
Susoyoke or long johns should be worn first, followed by the hadajuban. As you pull the rear hem of the hadajuban down to reveal your neck, ensure it is centered on your torso. Never tuck the hadajuban into a long john or a susoyoke.
3. Don your nagajuban.
To maintain the collar straight and wrinkle-free, you need an erishin, which slides under the collar. If you don't have one, insert something into your collar by rolling and flattening a piece of washi paper. Place the nagajuban in the middle of your torso, leaving a fist-width gap between the collar and the nape of your neck. Take one of the date-jime and tie it over the koshi-himo to secure the nagajuban to your body right below the bust using one of the koshi-himo. To conceal any extra nagajuban material, tuck it into the side seams.
4. Put the Kimono on.
You may center the Kimono on your body by aligning the lower collar seams in front of your body. The Kimono is not in the middle of one seam and is higher than the other. It should be in line with the back of the nagajuban collar without being pulled too tightly. The nagajuban collar should protrude by one or two centimeters at the front, while the two collars should be the same height at the back. The Kimono and collar can be secured at the center back with a clip or clothespin.
Make sure your second koshi-himo is within easy reach or in your possession. The bottom hem of the Kimono should be raised just above the tops of your feet. Grab the Kimono about 10 cm from the bottom of the collar on both sides. Wrap the Kimono around your legs, dragging the left edge to the right side of your body while holding the collar in your left hand. The point above your feet should be approximately 7 cm higher than the left margin. After measuring, uncover yourself while maintaining your arm at that height.
Next, wrap the Kimono around to the left side of your body, lifting the right edge of the garment 10-15 cm above the tops of your feet. Hold it in place while re-draping the left kimono edge over the top. It won't be seen as it should because the right side was lifted higher than the left and is now beneath the left side.
5. Fix the Kimono with a tie.
Ensure your koshi-himo is close by now that everything is set up since you need to tie it down. Because this is the primary sash holding the entire thing together, tie the Kimono tightly over your belly button. Make sure the koshi-himo's extra length is tucked inside so it doesn't hang down anywhere. The koshi-himo, which you may now fold down over the sash to give the Kimono a flat and tidy appearance, should have all the extra kimono material above it. This extra fabric is OK and will be covered primarily by the obi.
You can embellish the obi with extra decorative elements like an obi-age sash or an obi-jime decorative cord once the Kimono has been correctly put on. The last step is to put on a geta, which can be casual or formal, depending on the Kimono worn. It's also important to remember that hair is often pulled back and away from the face when a kimono is worn.
Basic Rules to Remember when Wearing a Kimono
1. Overlap the left and right sides.
Ensure the left side is wrapped over the right before you close your Kimono or yukata. Never cross your Kimono the other way around; that is only done by the deceased. It may be wise to avoid closing your Japanese Kimono with the right side over the left, as doing so signifies death. The portion of the Kimono that closes last is the one that is on the heart side; this is a simple tip to help you remember which side is correct. Before venturing outside, always inspect your Kimono once more.
2. Dress in white tabi socks.
White tabi socks must be worn with your geta or zori because the Kimono is formal clothing. It is not advised to wear fashionable socks or have bare feet. If you ever want to wear a kimono, here is some advice: put on your tabi first because it will be challenging to reach your feet after you are enveloped in this straight garment. On the other hand, if you want to wear a yukata, you can go barefoot or splurge on some eye-catching socks.
3. The obi knot should be tied behind.
Although tying the obi in the back has been customary since the 1700s, it was only sometimes the case. Depending on the wearer's mood and inclination, the obi knot might be worn in the front, the back, or sides during the early Edo era (1600–1868). Tying an obi knot at the front at one time was considered stylish. The knot's location during the end of the Edo era served as a sign of the wearer's social standing. The knot at the front was only worn by bachelors, widows, and courtesans, whereas married ladies wore the knot at the back.
4. Put on a nagajuban beneath your Kimono.
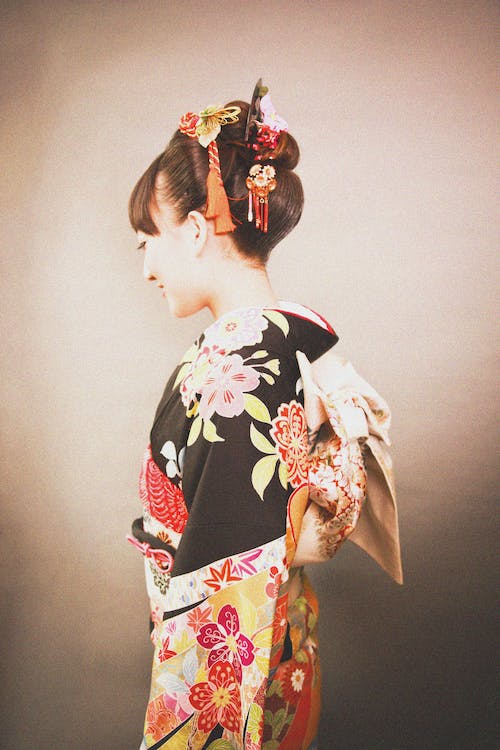
The Japanese Kimono is typically constructed of a delicate cloth that costs much money. This traditional garment should be washed as seldom as possible to increase lifespan. Because of this, Japanese people don the nagajuban, a form of white cotton clothing, as an undergarment beneath their kimonos. The nagajuban, worn beneath the Kimono, is only seen at the collar. It is because of this double collar that kimonos are simple to identify. The garment's collar should be beautifully structured and slightly pulled back to avoid covering the nape, which is viewed as seductive for women.
5. Keep the yukata for casual occasions only.
A lightweight, informal kimono called a yukata is typically composed of cotton and worn without a nagajuban. This outfit is frequently worn following a bath, at home, or annual summertime fireworks displays. Wearing a yukata to a wedding, tea ceremony, or formal function is strongly discouraged. Westerners sometimes find it challenging to tell the yukata from the Kimono.
6. The Kimono Collar should be placed appropriately.
Your Kimono should have a strong collar that displays your neck's back. An opening roughly the size of a fist and a half should exist. Young people are expected to display their necks and maintain a high, tight collar at the front. Older women's front collars are lower and more rounded, and their backs are less visible.
7. Wear the right Kimono according to the season.
The Kimono and the Japanese people are tremendously in tune with the changing seasons. Only certain times of the year are appropriate for wearing particular hues and patterns. For instance, any obi or Kimono with a picture of a cherry tree is only appropriate during the cherry blossom season. Without a tree, sakura blooms alone are acceptable all year long. Maintaining a kimono in tune with the seasons is simple if you think about it. Autumnal foliage and hues like brown, scarlet, and dark green fit the season perfectly. Winter calls for deeper hues like red and black, spring conjures images of pink and flowers, while summer needs vibrant hues like blue and yellow.
8. Keep the kimono parallel to the ground.
You wear kimonos to give yourself a tube-shaped body. If your body isn't naturally shaped this way, you must wear padding to alter it. A kimono is a highly symmetrical garment; the seams must be straight, and the bottom must be level with the floor. It takes some practice to get it perfect because it is trickier than it sounds to do this.
9. Recognize the Difference Between a Formal and a Casual Kimono
Kimonos can be worn in two different settings: formal and informal. This brings us back to kimono kinds, where we previously discussed how formal kimonos are. A typical rule of thumb is that a kimono is most likely a formal kimono if it features gold, embroidery, silk, or another shining material or if the pattern is only visible on select portions of the garment. Conversely, a cotton kimono with a repeating pattern and no embroidery or sparkling accents is considered a casual kimono.
10. Wear your obi on the back at all times.
This may sound like a no-brainer, but women who worked in the red-light area wore their obis on the front. So make sure to wear your obi on your back at all times.
Conclusion
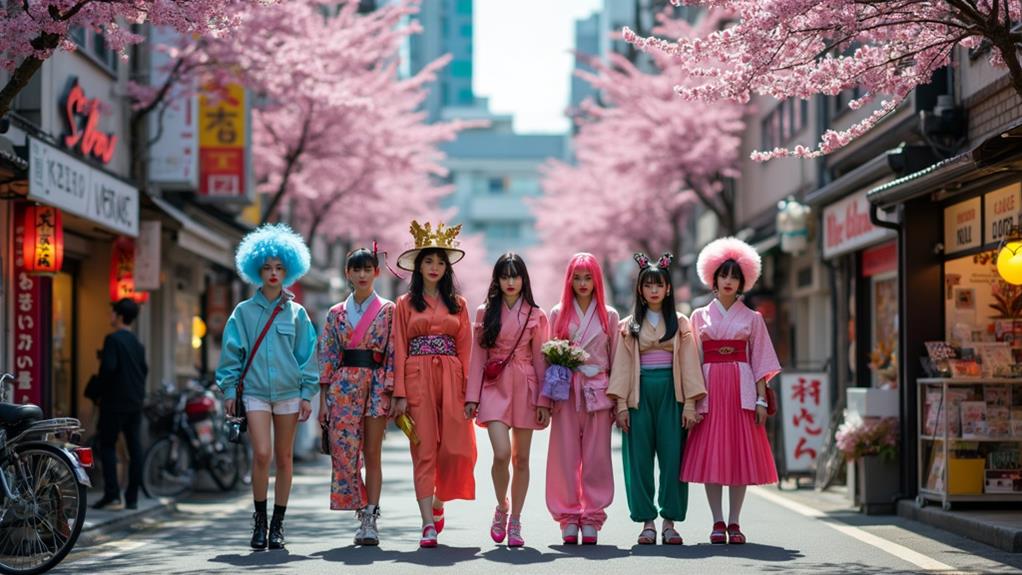
Japanese kimonos are experiencing a resurgence that is bringing in new admirers from around the globe. Walking around the city while dressed in traditional Japanese garb is one of the fun things to do in Japan. You may make your trip to Japan even more memorable by attending a tea ceremony where participants wear kimonos and staying the night in a ryokan while dressed in yukata. But whether you're a seasoned kimono wearer or just learning about them, there's always more to learn. The difficulty doesn't end with correctly donning a Japanese kimono—there are still more obstacles to overcome! Once you are wearing the Kimono, several regulations must be followed.
You're not alone if the thought of donning a Japanese kimono fills you with dread; even Japanese folks need assistance donning some styles of Kimono! Fortunately, experts at kimono rental companies will dress customers, especially the more formal ones, to attain the ideal look. If donning a traditional kimono seems too tricky, you can always opt to wear this outfit in a more contemporary manner! Various kimono varieties are available today with shorter fits, lighter fabrics, and more fashionable patterns.