How Do I Make My Own Embroidery Patch
Have you ever wanted to make your embroidery patches? It's a great hobby, and it can be very rewarding. Embroidery patches and t-shirt tags are all ways to add some character and style when customizing your clothes. There are many different ways to personalize, decorate, and embellish things with simple stitches on a machine or by hand.
Things To Consider Before Making An Embroidery Patch
- a) When designing the embroidery patch, keep in mind what the final product will look like. Is it going to be a patch for clothes, or is it just something you want to embellish?
- b) You'll also need to consider what size the image will be on the final product. If you're designing an embroidery patch that's going onto a baby onesie, then make sure your design is small enough to fit on the fabric.
c)Limit the colors you're going to use in the design. You can only have so many colors on an embroidery patch before it starts to look cluttered. It is also advisable to make a very light color for your foreground and have dark colors be in the background, or vice versa.
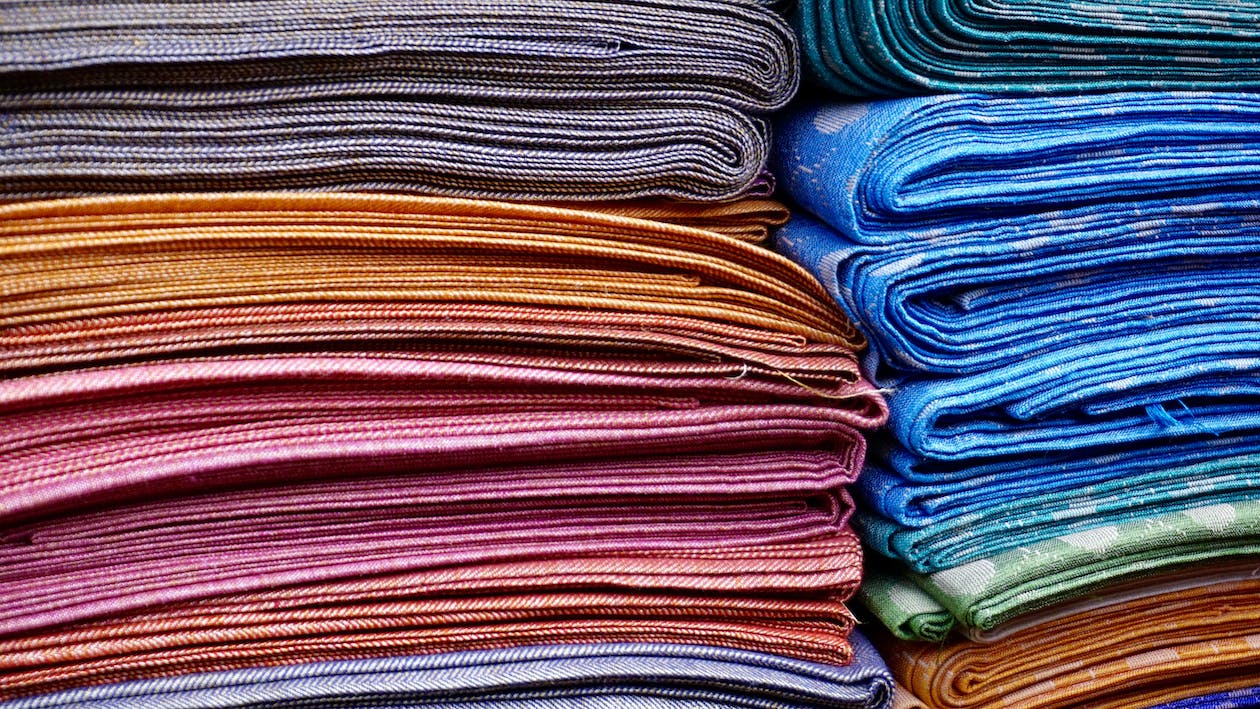
d)Consider the type of fabric that the patch will be on. It's important to remember that different types of fabric require a different type of thread for stitching, so make sure you do your research beforehand. You should also prewash the fabric you will use for your embroidery hoop to make it more pliable. If you want to embroider the patch onto fabric, then choose a material that can be sewn and ironed on.
Steps Of making an embroidery
Step 1
Design the patch. This can be done with a paint program on your computer or by tracing an existing image and editing it. You may also make up something new from scratch.
Step 2
Print out the design onto fabric using an inkjet printer with iron-on transfer paper. This is what will allow you to do embroidery on top of the patch.
Step 3
Cut the fabric down into a square or rectangle shape that is manageable for your embroidery hoop. You can make this any size you want, but remember how big it'll be in the end and pick accordingly.
Step 4
Using iron on high heat with medium pressure, a heat press, or an embroidery machine, you will need to press the image onto your fabric. Be sure that it is lined up so that there are no overlapping sections on the patch.
Step 5
Cut out any excess fabric around the design for a clean look, and then put it into your embroidery hoop for embroidering.
Step 6
Remove the fabric from your embroidery hoop and iron it out so that there are no wrinkles in it. You can also take some clear packing tape or an adhesive spray with a low melting temperature to seal the back of your patch before you sew it on.
How To Sew It On
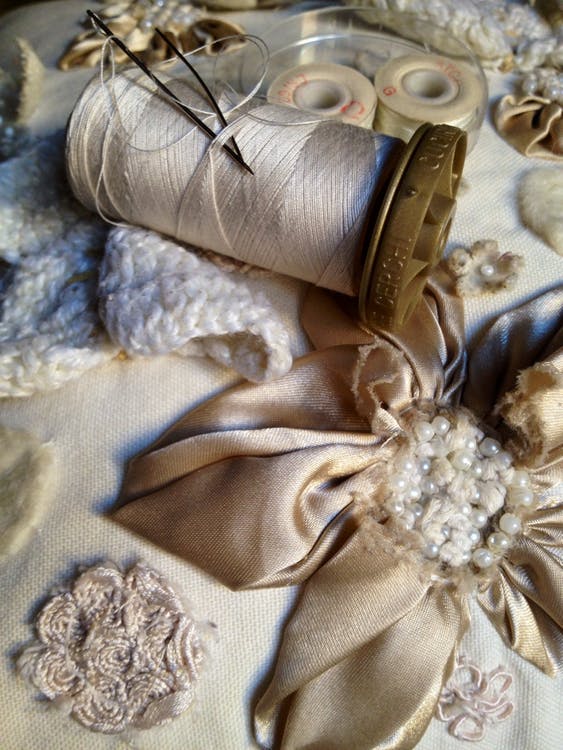
There are many different ways to create embroidery patches. You can use an inkjet printer or heat-press, but it is also possible to do the process by hand without any tools. The stitches used in this craft are quite simple and basic; you'll need a needle with thread and, of course some patience.
First, you'll sew the edges together around your design. This is a border that will keep any thread from unraveling when embroidery is done on top of it.
Next (this step can be skipped if done by hand without tools), use some tape or glue dots to hold down the corners, so they don't get in the way of your stitches. If doing it by hand, you can also use a pin to keep them out of the way.
You'll want to embroidery using a simple running stitch with an overcast stitch on top and bottom for extra stability. Remember not to pull too tightly while stitching, or it will cause puckering and make the stitches very tight.
-With machine embroidery, you'll want to use a zigzag stitch for this step instead of running stitch because it is much better at holding down fabric and preventing puckering.
-All edges must be finished up well, so there are no loose threads or tears in your work. You can iron out any wrinkles or folds with a hot iron.
-After this, you'll want to sew the patch onto the material that you'd like it on and press down all of the edges before sewing, so they don't get in the way.
-For machine work, you'll want to use a zigzag stitch again for the border. For hand embroidery, use running stitches with an overcast stitch on top and bottom.
The best thing about making embroidery patches is that there are no set rules, creating them. Some people may prefer stitching something they've designed by hand, while others may prefer to use a computer and design something digitally. What's important is that you enjoy the process!