Look Chic With Your Custom Flip Flops
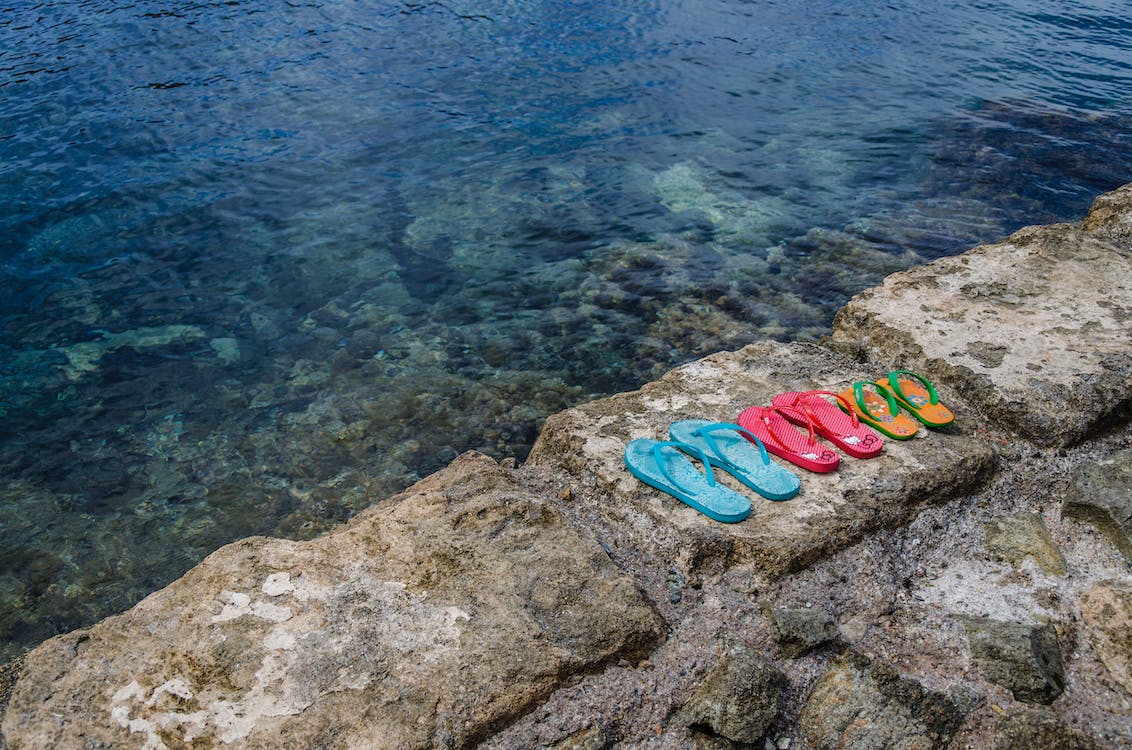
Nowadays, custom flip flops are common and deemed to be fashionable. You can get them in local supermarkets and shopping complexes. You simply visit those locations and inform them of the styles you would want for your flip flops to look like. You will be amazed at how quickly they can complete the task for you – you would not need to wait 24 hours at all.
However, visiting stores in person could be inconvenient at times. If you are the only customer in the store, consider yourself fortunate. Usually, more than five individuals are waiting for their turn. To avoid this scenario, you can create your own flip flop designs.
DIY Custom Flip Flops
Custom flip flops will take a bit of wild imagination. It also involves plenty of materials – especially the glue. You can have fun and spend some quality time with your friends or your siblings in creating unique custom flip flops.
You must first choose a flip flop design that you want. Try to experiment with the designs so that your flip flops will not be plain-looking. It would be best if you also determined whether the design materials you are eyeing would suit the flip flops.
You can personalize them to express your fashion sense or pair them with your OOTD (outfit of the day) for a planned date. There are just four simple steps that you need to follow to design and customize your flip flops.
Steps in Designing Your Custom Flip Flops
- First off, you need to buy a pair of new flip flops. They could be in whatever color – just make sure that it is plain in color and not those with printed designs.
- Buy the materials that are needed for your DIY custom flip flops' design. The straps can be wrapped with ribbon or yarn, and you can also glue metallic sequins or any embroidery floss. If you are going to make use of yarn or embroidery floss, you must ensure that the colors are varied colors to make it really fashionable. If you are going to use a ribbon, choose one with fine print. Polka dots and leopard prints are advisable as long as they complement your ensemble. And if you are going to glue metallic sequins, be sure to use various colored sequins as well.
- Choose your accessories. For this, you can use ribbons, diamonds, beads, or fake flowers. This step is optional and will be applied on the top of the straps. This will give your flip flops a distinct style.
Use beads and stones to create a vibrant pattern for your flip flops. Additionally, you can use ribbons or glue them to the straps. Never be scared to let your creativity run wild when creating designs.
- Do not forget to buy the glue! You will need hot glue to wrap those straps and attach the embellishments. Ascertain that you have sufficient hot glue to complete the DIY flip flop project.
You need to have a glue gun for the hot glue. Switch it on for around 15 minutes before using it. You can also use fabric glue as an alternative. However, keep in mind that if you use fabric glue, it must be dried overnight.
Custom Flip Flops: Wrapping The Straps
- Apply a dab of glue to the edge of a material you are going to use. If you are using floss, yarn, or ribbons, use a tiny bit of glue to bind the ends. Apply a small amount of adhesive to the interior of the strap. Take the material's end and press this into the adhesive. To avoid being harmed when using hot glue, you could use a toothpick.
- Using the strands, wrap them around the strap. Repeat this procedure until the material completely conceals the straps. You can make use of different colors to show off your unique style.
- Each time you change colors, apply adhesive to the tips. To secure the material, put a dab of glue on the interior of your flip flop straps. When applying hot glue, spread the adhesive first, followed by wrapping the material.
- Keep wrapping the straps of your flip flops around the base until you cover the whole strap. Wrap the straps carefully. Wrap it only once to avoid it appearing bulky. Straps that are too "fat" can be painful for your feet.
- Glue the strap ends together. And finally, wait until the glue is completely dry. Leave your flip-flops to air-dry for several hours to ensure that the glue gets completely dry.
- Repeat steps 1–5 with the other flip flop strap.
Custom Flip Flops: Adding Embellishments
- Add a pea-sized drop of glue to the strap at the desired area for the embellishment. The size of the adhesive should correspond to the embellishment's size. For instance, if you intend to add metallic sequins, just use a small amount.
- Press the embellishments firmly against the glue and allow it to dry. Take care when performing this task, particularly when making use of hot glue. Push the material gently to the glue, then hold it for a minute. This will make sure that the embellishment will stick. Repeat till the entire strap is covered. Apply these steps to each of your flip flops' straps.
- This step is optional, but you can embellish the spot in which the two straps connect with a faux flower or a ribbon. This will add a touch of cuteness to your flip flops. Apply a small bit of adhesive to that area to ensure the flowers or bow will stick,
- Allow it to air-dry overnight. Once you are perfectly happy with the design of the straps, allow the adhesive to dry overnight and check the following day if nothing fell off. You can even wait for 24 hours for the flip flop to completely dry before using it. This is to make sure that the materials really stuck to the straps.
Numerous online retailers specialize in making custom flip flops. You can just choose the design you desire, order it online, and just wait for it to be shipped. However, it is more satisfying when you are wearing flip flops that you made yourself. Knowing that you have changed a pair of simple flip flops into elegant, stylish flip flops fills you with pride.
Related posts