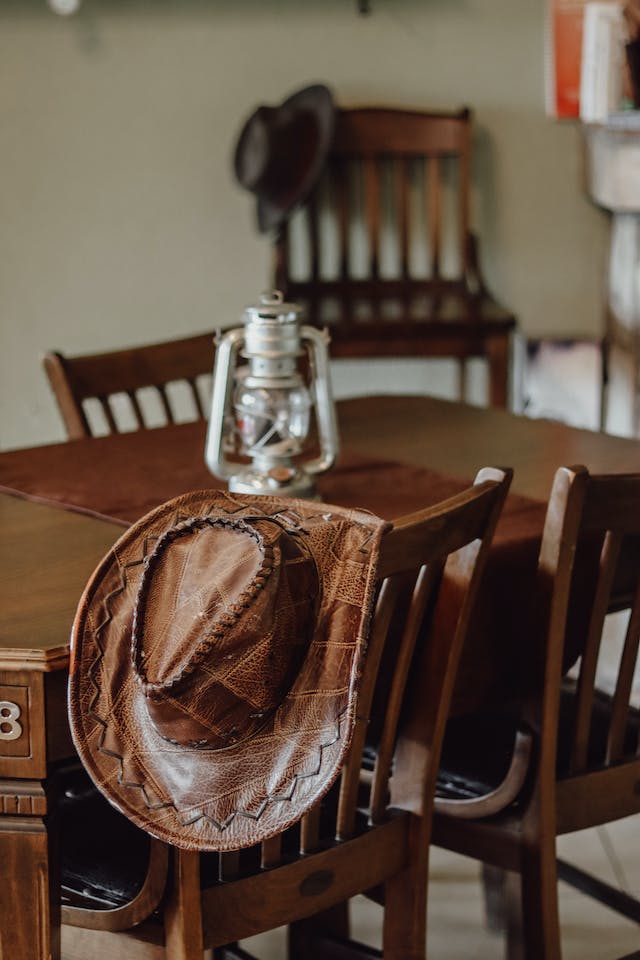
If you’re up for some DIY tasks that involve sewing, you might want to make some modifications on your leather hat. Sewing a patch is just one way of enhancing your leather hat. If you’ve never done it before, the process might appear intimidating but it doesn’t have to be so. That’s why we’ve come up with this guide to help you. We’ll cover the basics as that’s what will be needed for the most part.
Gathering The Necessary Materials and Supplies
The materials that will be needed to customize the leather hat are basic, to say the least. You can see more at Leather Stand to have an idea of everything that will be needed for the whole project. The first item and perhaps the most important one will be the leather hat. You also need glue and a piece of leather for the patch. Depending on the complexity of the design, you might also require a digital file. In addition, a laser cutter might be necessary. You can find them in your local universities and technical institutions.
Avoid Fake Leather
There is nothing as heartbreaking as pouring your heart and soul into the project only to find out that you were working with fake leather. Using faux leather instead of real leather could result in gas emissions when subjected to the laser cutter. There are reputable stores where you’ll get real leather. You can narrow down on the ones that are available in your locality.
Preparing The Design
Before you can etch the final design of the patch, you’ll need to do some preparation work. Some basic graphic design skills will be needed for this. You can go on sites like Fiverr and explain your requirements for the design and illustration. Make sure that the artwork is properly sized so that it’s proportionate to the leather hat.
Taping and Masking The Leather
If you’ll be etching a good portion of the leather, it’s usually recommended that you’re masking it with tape. This is done in order to prevent smoke residues that might be produced because of the surface marring.
Laser Etching The Patches
This will be one of the most complex parts of the whole process even though it might seem straightforward. More energy will be required if it’s a cutout pass. You could experience some challenges if you’ve never handled a laser machine before. It’s encouraged to have someone that is more experienced to help with this part so as to compromise the quality of the work. One thing that should be noted that the process is not pleasant. If you’re dealing with real leather, there is a chance that you’ll feel like if it is skin and hair being burnt. This is something that you’ll need to be aware of from the onset as not everyone can stomach such strong smells.
Cleaning up the Patch
Once you’re done with the laser, the next step would be to clean the patch. If you masked the patch, there will be no other option but for the small pieces manually. Take your time as you don’t want to remain with the itsy bitsy pieces which can ruin the appearance of the leather patch. You can use an air compressor to blow away any residue that might have remained. A damp cloth containing alcohol will also come in handy for cleaning away the smoke.
Gluing the Patch to Hat
This the final step of the process and it will involve applying glue to the leather patch. Ideally, you should look for an adhesive that is friendly with fabric. You don’t want the hat to be rigid once the patch is applied. Make sure you’re wearing gloves when applying the patch. The last step will be sewing the patch. This will also be straightforward as the glue will have held the patch firmly in place. You can go for different stitch finishing depending on your skills and expertise.
To Conclude
There are different ways to approach such a project. There are some that are going to be cheap and less time-consuming than others. This could mean compromising the quality of output. Whatever approach you settle on, you’ll still want to make sure that you’re doing a great job. Do your homework on the process and find out how easily you can get the recommended materials. You can go over video instructions from start to finish before you can start the process on your own.

